

1. Introduction
This report describes the complete implementation process of creating a WDS Bridge between two TP-Link routers in order to extend wireless network coverage. The experiment includes hardware setup, router configuration, addressing, DHCP management, and successful bridging between the Root Access Point (AP) and the secondary router acting as a Bridge/Range Extender.
2. Equipment Used
- Bridge Rout
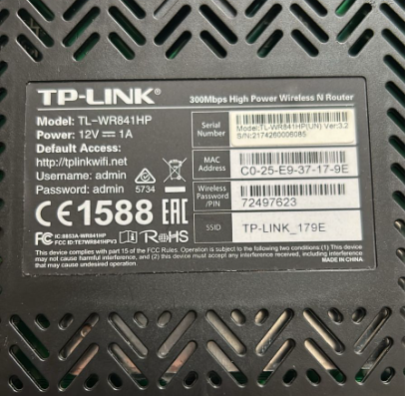
Model: TP-Link TL-WR841HP (Hardware Version 3)
Function: WDS Bridge / Range Extender
- Access Point (Root Router)
Model: TP-Link (primary internet source)
Function: Provides Wi-Fi name “Kelevra” to be bridged.
- Additional Material
1× Laptop
1× Ethernet cable
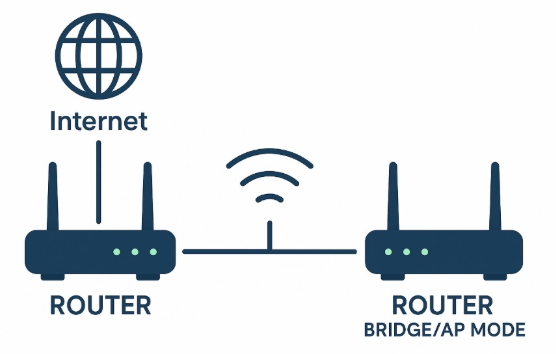
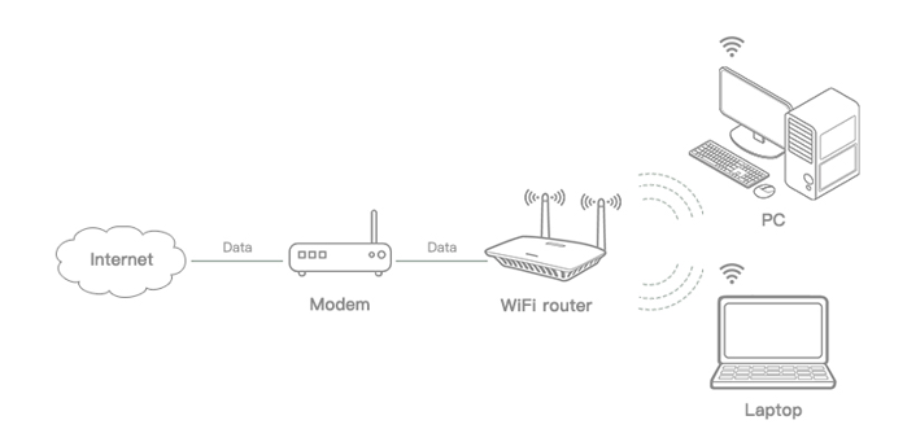
Network Topology
The extended wireless network uses a simple topology where the Root Router provides internet access, and the secondary router repeats this signal using WDS Bridging.

Configuration Procedure
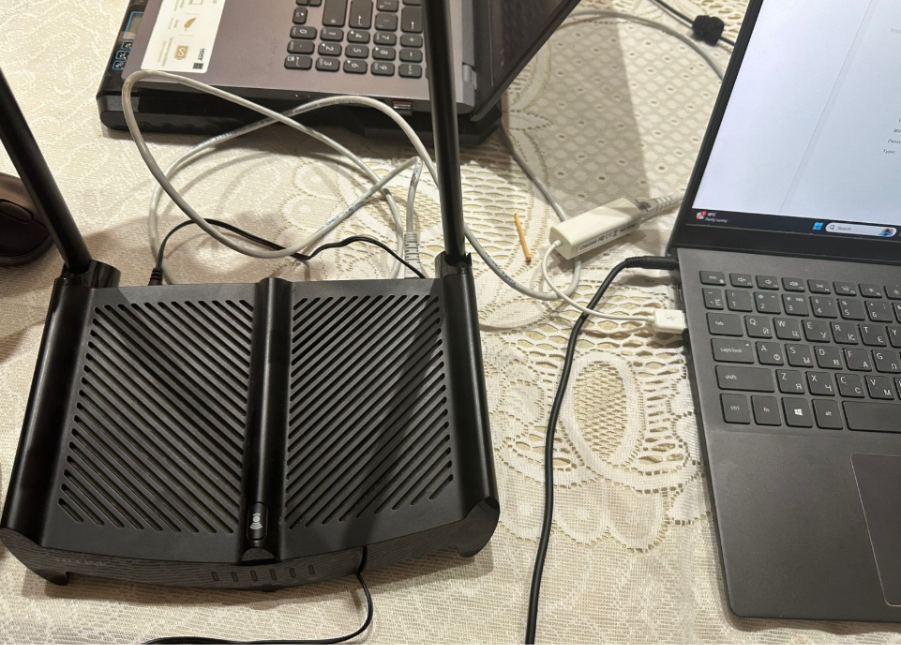
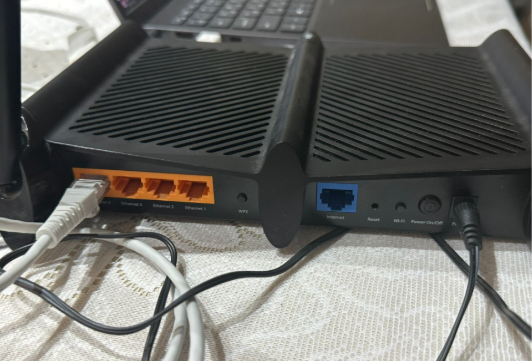
- Connecting Laptop to Bridge Router
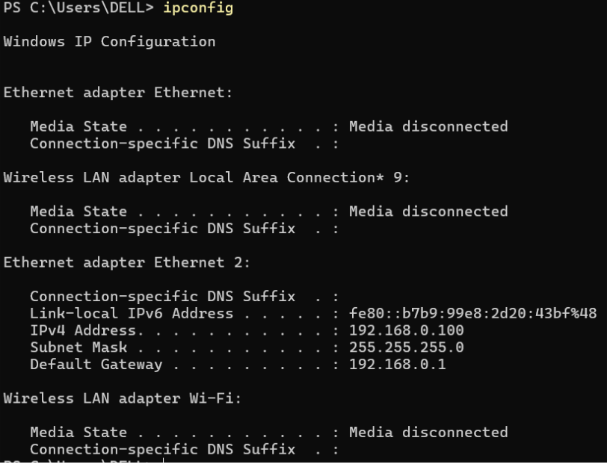
The Ethernet cable was connected from the laptop to the Bridge router.
Wi-Fi was disabled to ensure direct configuration.
IPv4 Address: 192.168.0.100 Gateway: 192.168.0.1
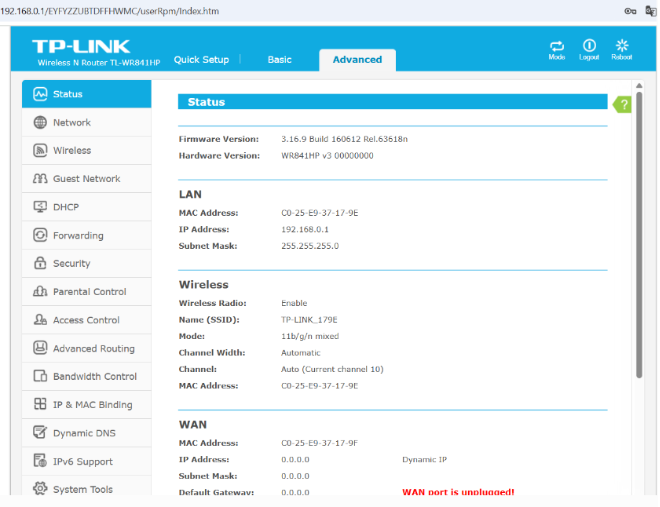
- Access to TL-WR841HP Management Panel
Using a browser, the following URL was opened: 192.168.0.1

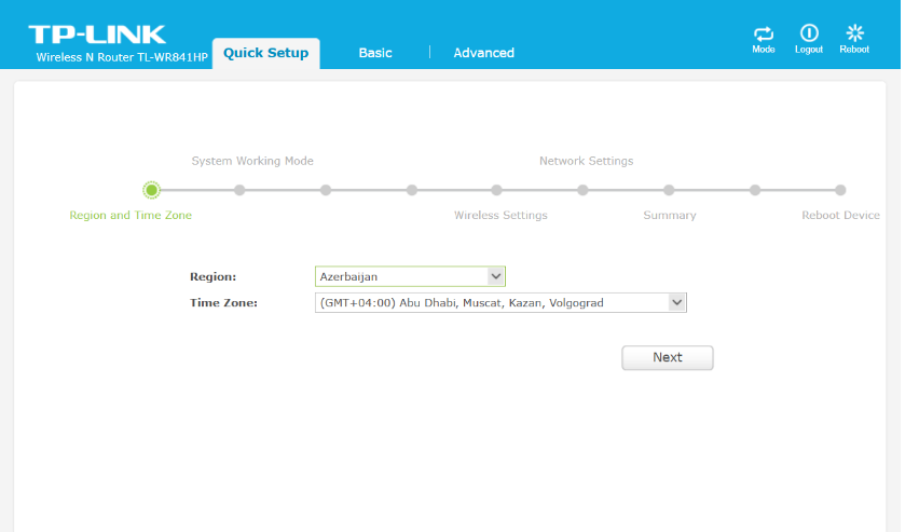
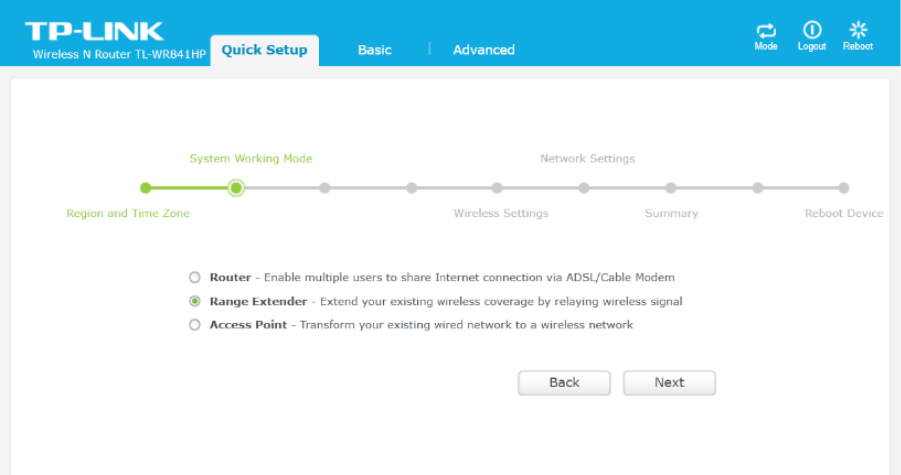
- Selecting Operating Model
Under Quick Setup, the device was configured to operate in Range Extender (WDS Bridge) Mode.
- Scanning and Selecting Root AP
The router scanned for available Wi-Fi networks.
The main network Kalevra (AP router) was selected.
- Network Settings Selection
Under Network Settings, WDS mode was paired with Smart IP (DHCP) to automatically obtain addressing.
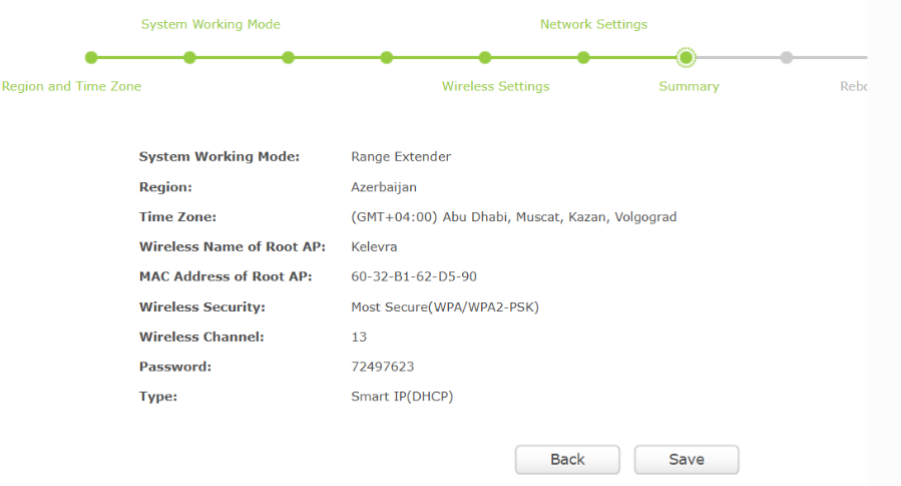
- Configuration Summary
Before rebooting, all settings (region, AP MAC, channel, password, DHCP type) were displayed.
Note: The hardware version used (TL-WR841HP v3) does not include the WDS Bridging checkbox, which exists in older devices.
Therefore, configuration was completed using the TL-WR841N v1 Emulator, which fully supports WDS.
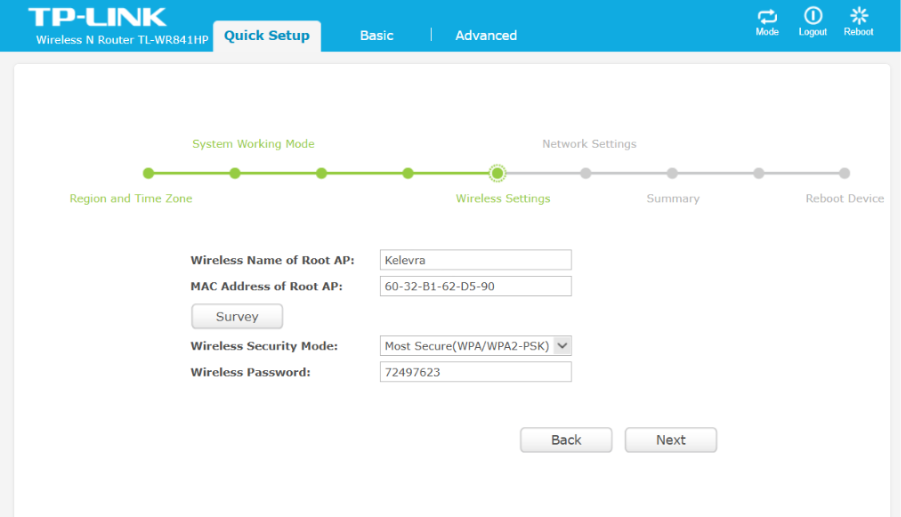
- Wireless WDS Configuration
- SSID to be bridged: Kalevra
- BSSID of the Root AP entered manually
- WPA2-PSK security mode applied

DHCP Deactivation
The secondary router must not distribute IPs, so DHCP was turned OFF.
LAN IP Adjustment
To avoid IP conflict, the Bridge router LAN IP was changed: 192.168.1.10
Conclusion
This project successfully implemented a wireless distribution system between two TP-Link routers. Despite hardware limitations (missing WDS checkbox on hardware version 3), the issue was solved using an emulator for configuration verification.